What is AgentOS?
AgentOS is a comprehensive platform that enables you to build and deploy AI agents with complete observability and management capabilities. With AgentOS, you can:- Build and deploy agents with streamlined workflows
- Monitor everything - track metrics, token costs, API calls, response times, and execution history
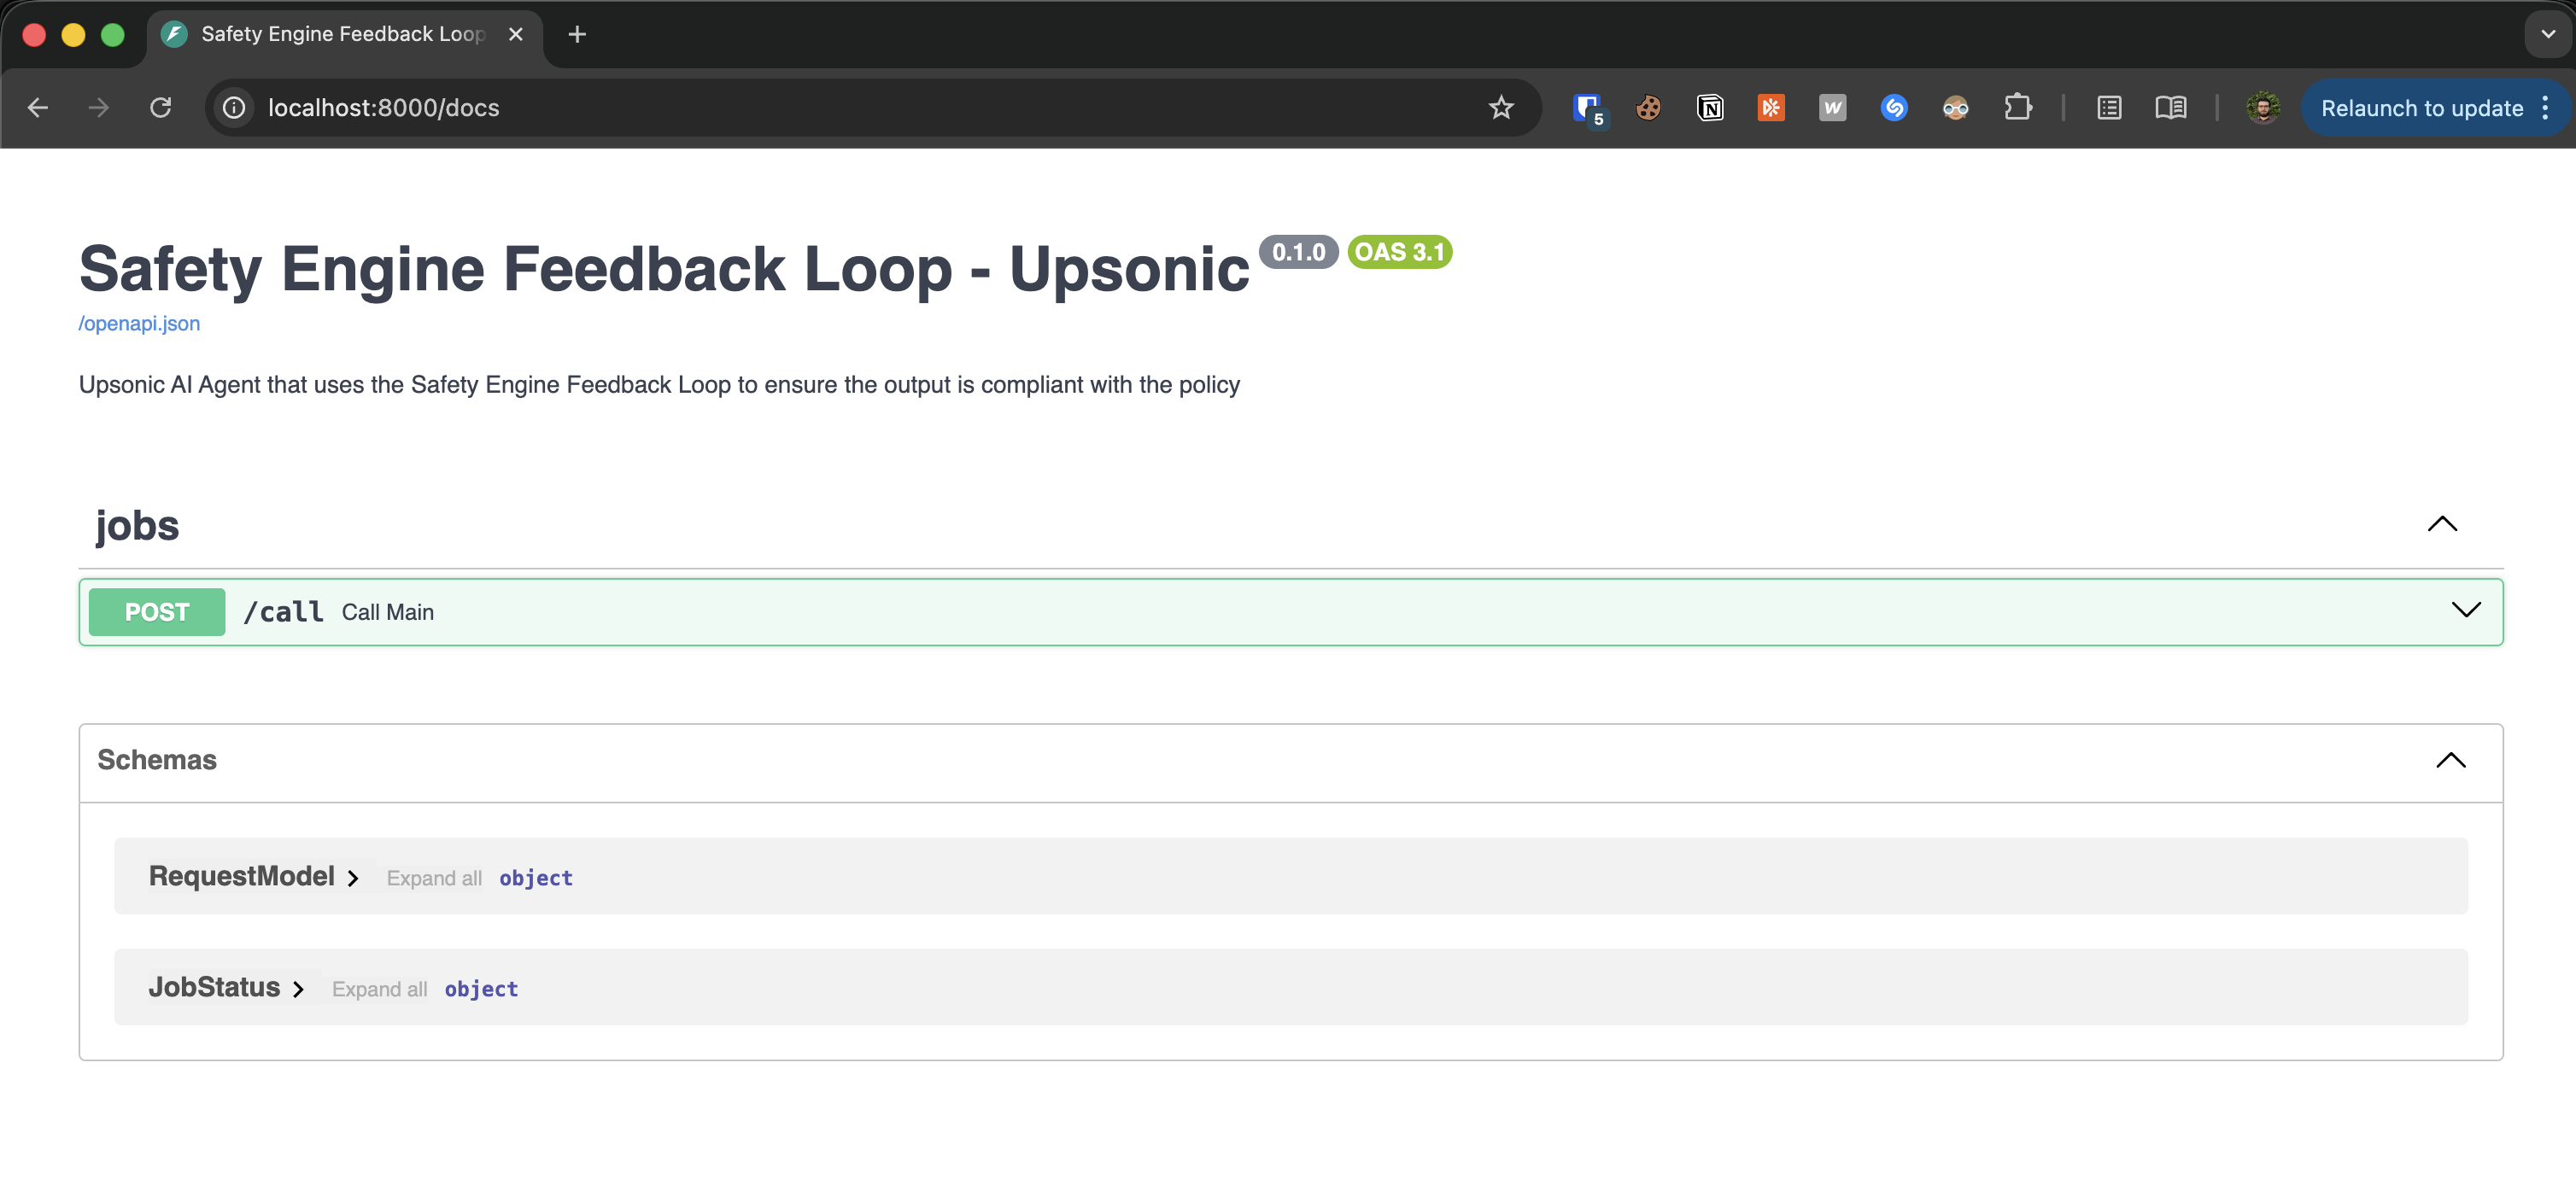
- Transform agents into APIs - make your agents API-native and production-ready
- Manage deployments - handle the entire deployment lifecycle from a single interface
What is the Agent Framework?
The framework is where you develop your agent, add functionality, and design its behavior. It is a Python-based library that includes several features to help you build production-grade agents. Key capabilities include:- Create a knowledge base to handle large amounts of information
- Create safety policies to prevent hallucinations and unsafe answers
- Design your own memory structure to personalize your agent
- Use Unified OCR to read all kinds of PDFs and images
Let’s Create an Agent That Gives Information About Stocks
In this agent, the user provides a stock symbol and we ask the agent to analyze it. We’ll use a specific response format to make the output useful and consistent.Create an Agent Repository
1) Pick your GitHub organization
In GitHub, click New (top-right) or go to your organization page and click Repositories → New.In the Owner dropdown, make sure you select your Organization (not your personal account).
2) Fill repo details (Name / Visibility)
Choose a repository name (e.g.
stock-agent).Select Visibility:- Private: Only accessible within your org (recommended).
- Public: Visible to everyone.
3) Add starter files (README is required)
Must do: check Add a README file so GitHub creates the repository with an initial commit.Optionally:
- .gitignore: choose Python.
- License: choose the license your org uses.
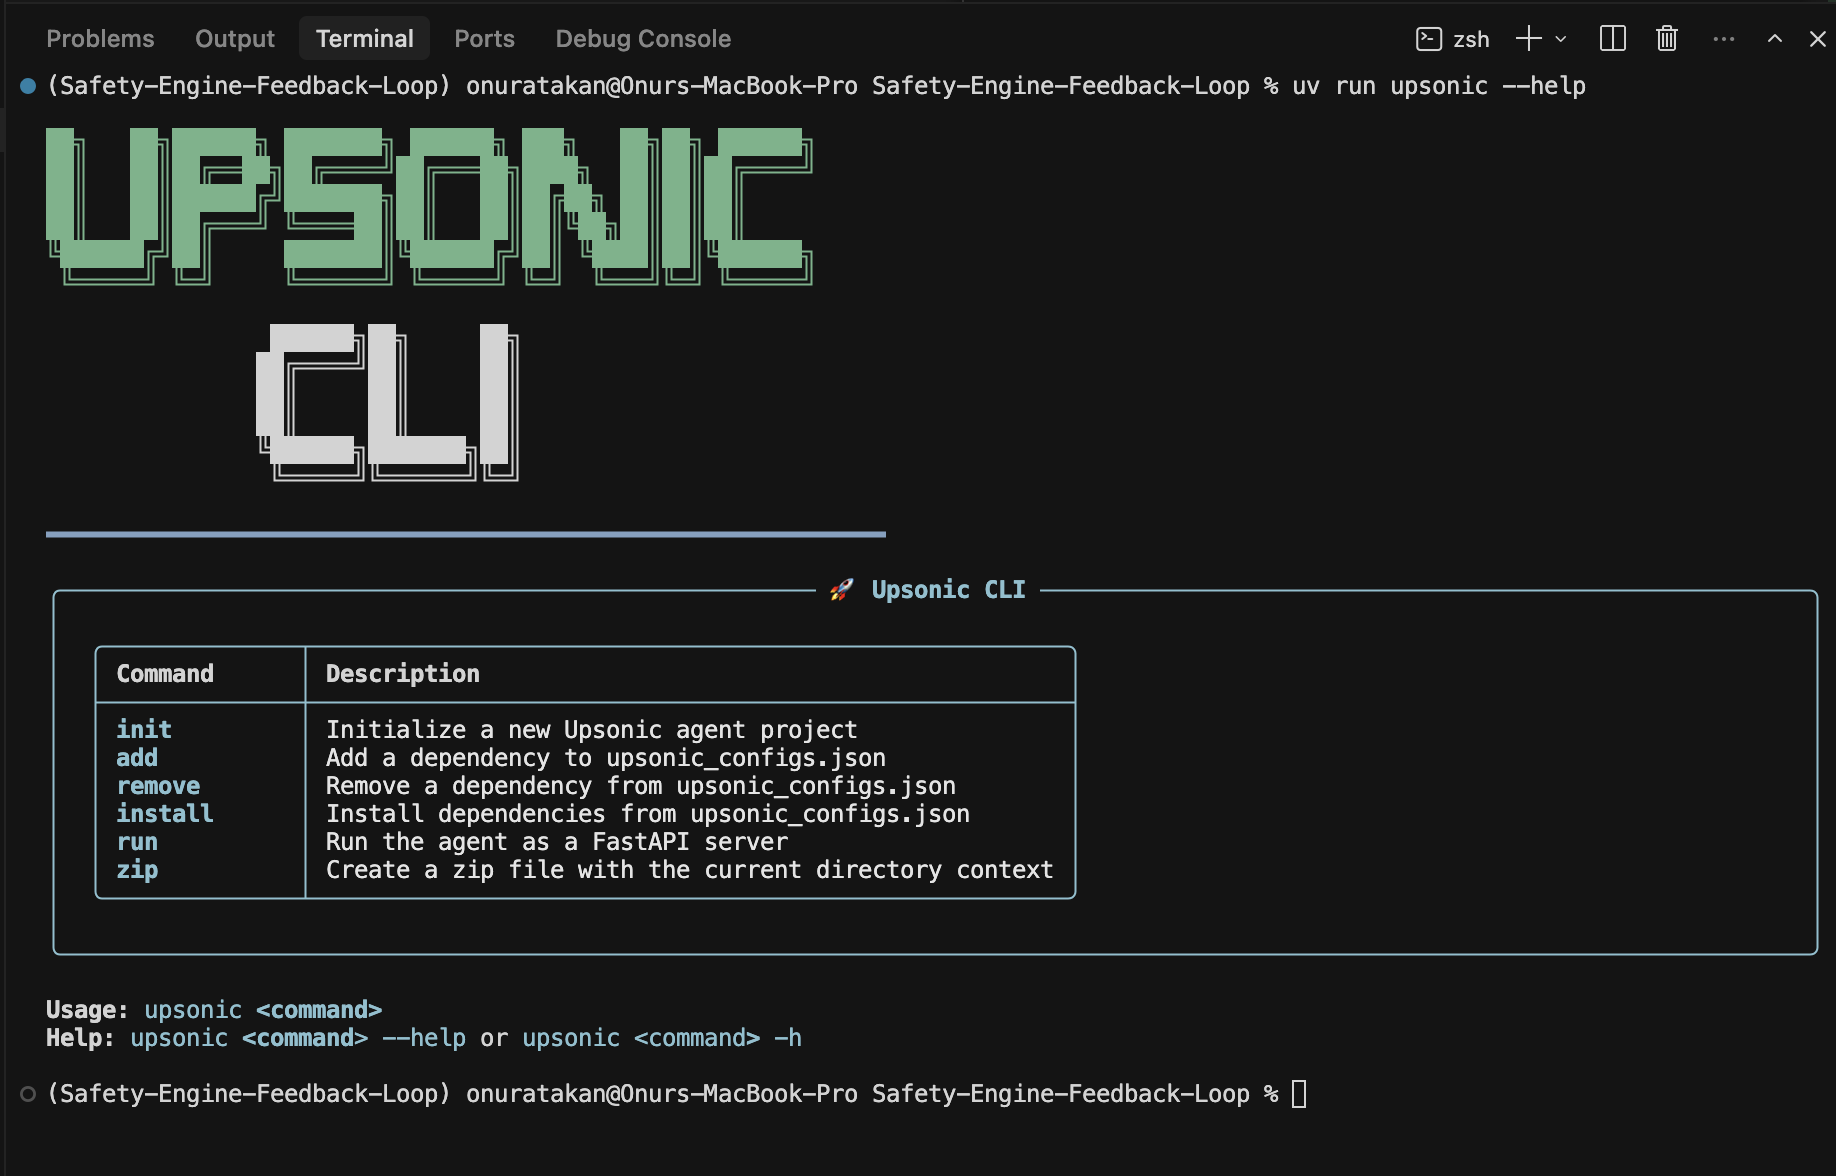
Install Upsonic CLI
We’ll useuv to manage the virtual environment and install the Upsonic CLI.
- Create a virtual environment:
- Install Upsonic CLI into the environment:
- Verify the CLI works by printing the help output:
Create Agent Project With “upsonic init”
- Initialize a new agent project:
- When prompted, type your agent name into the input (e.g.
stock-agent) and press Enter.

- Install the project dependencies (required before running locally):
Code your Inputs and Outputs
Now define what your agent accepts as input and what it returns as output by editingupsonic_configs.json.
- Open
upsonic_configs.jsonand update the basic metadata:agent_name: Your agent’s display namedescription: What the agent does (one sentence is enough)entrypoints.api_file: The python file that contains your agent entrypoint (e.g.main.py)
- Define your input(s) under
input_schema.inputs:- Add one key per input field (example:
user_query) - Set
type,description, andrequired type options:string,integer,dict
- Add one key per input field (example:
- Define your output(s) under
output_schema:- Add one key per output field your agent returns (example:
bot_response) - Set
typeanddescription type options:string,integer,dict
- Add one key per output field your agent returns (example:
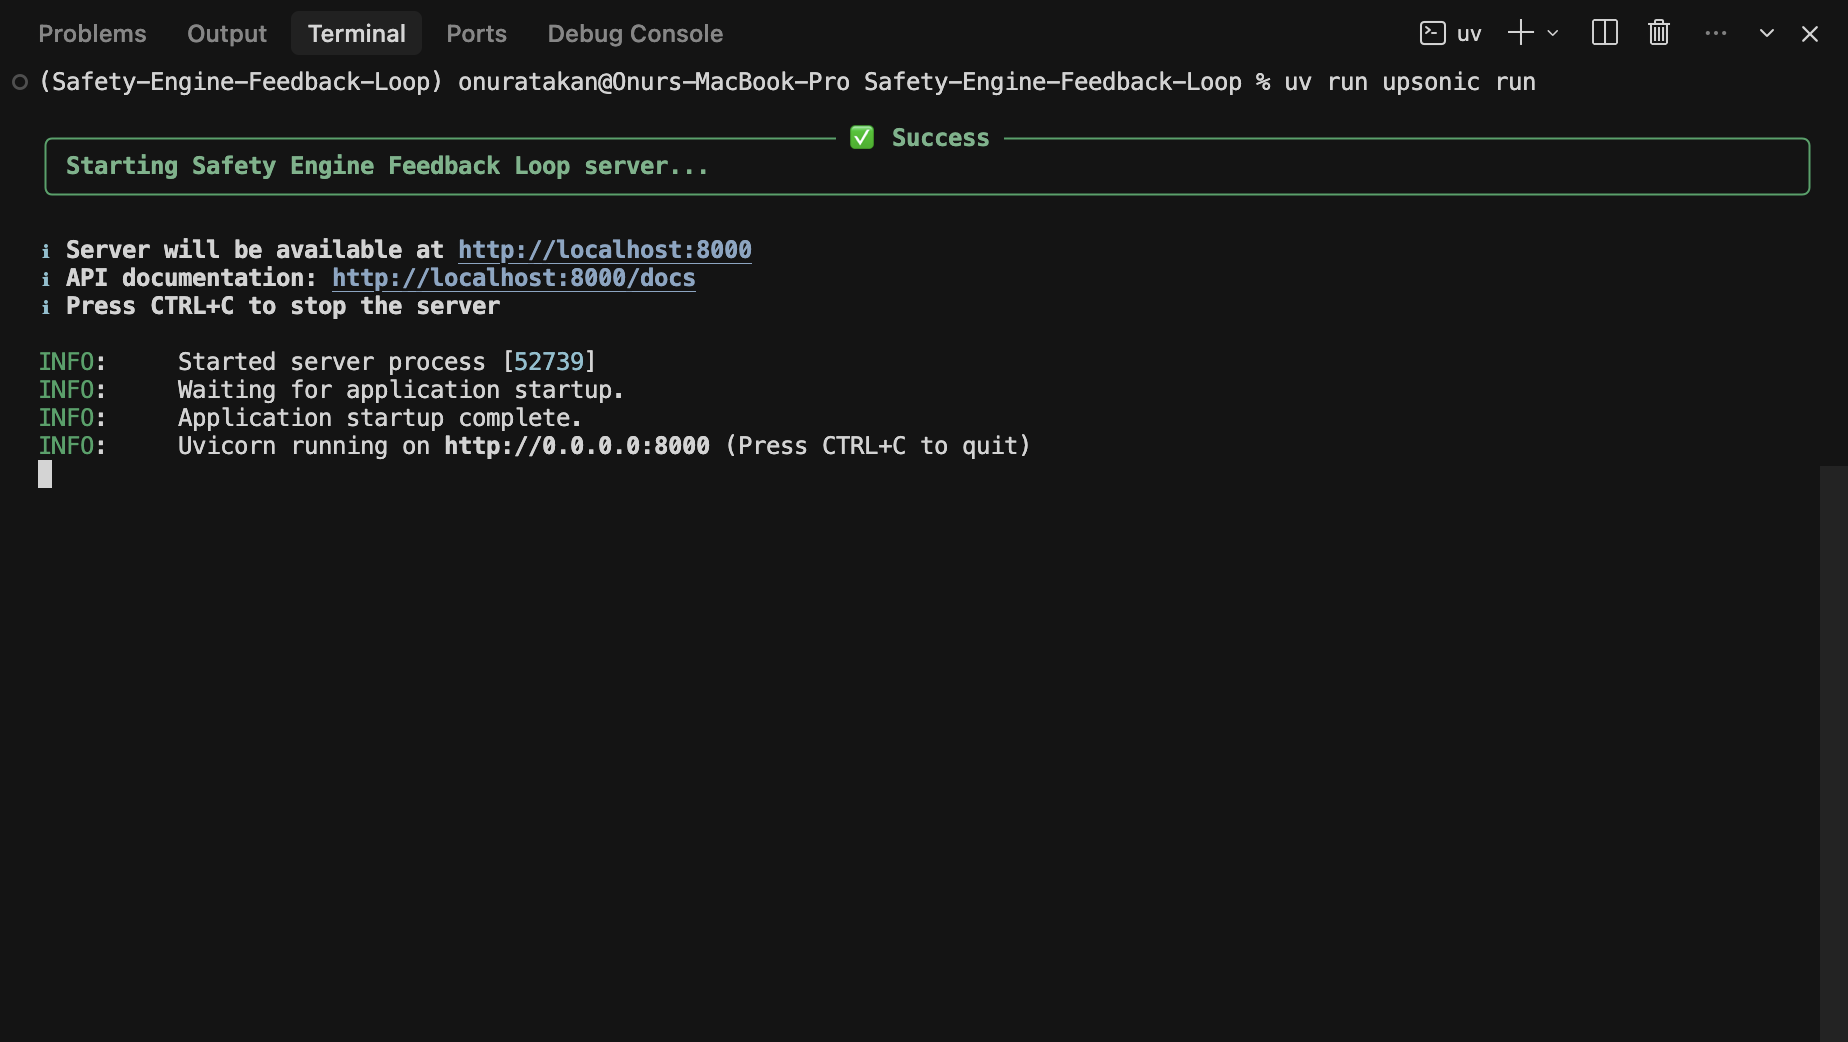
Test in your local with “upsonic run”
- Run the agent locally:
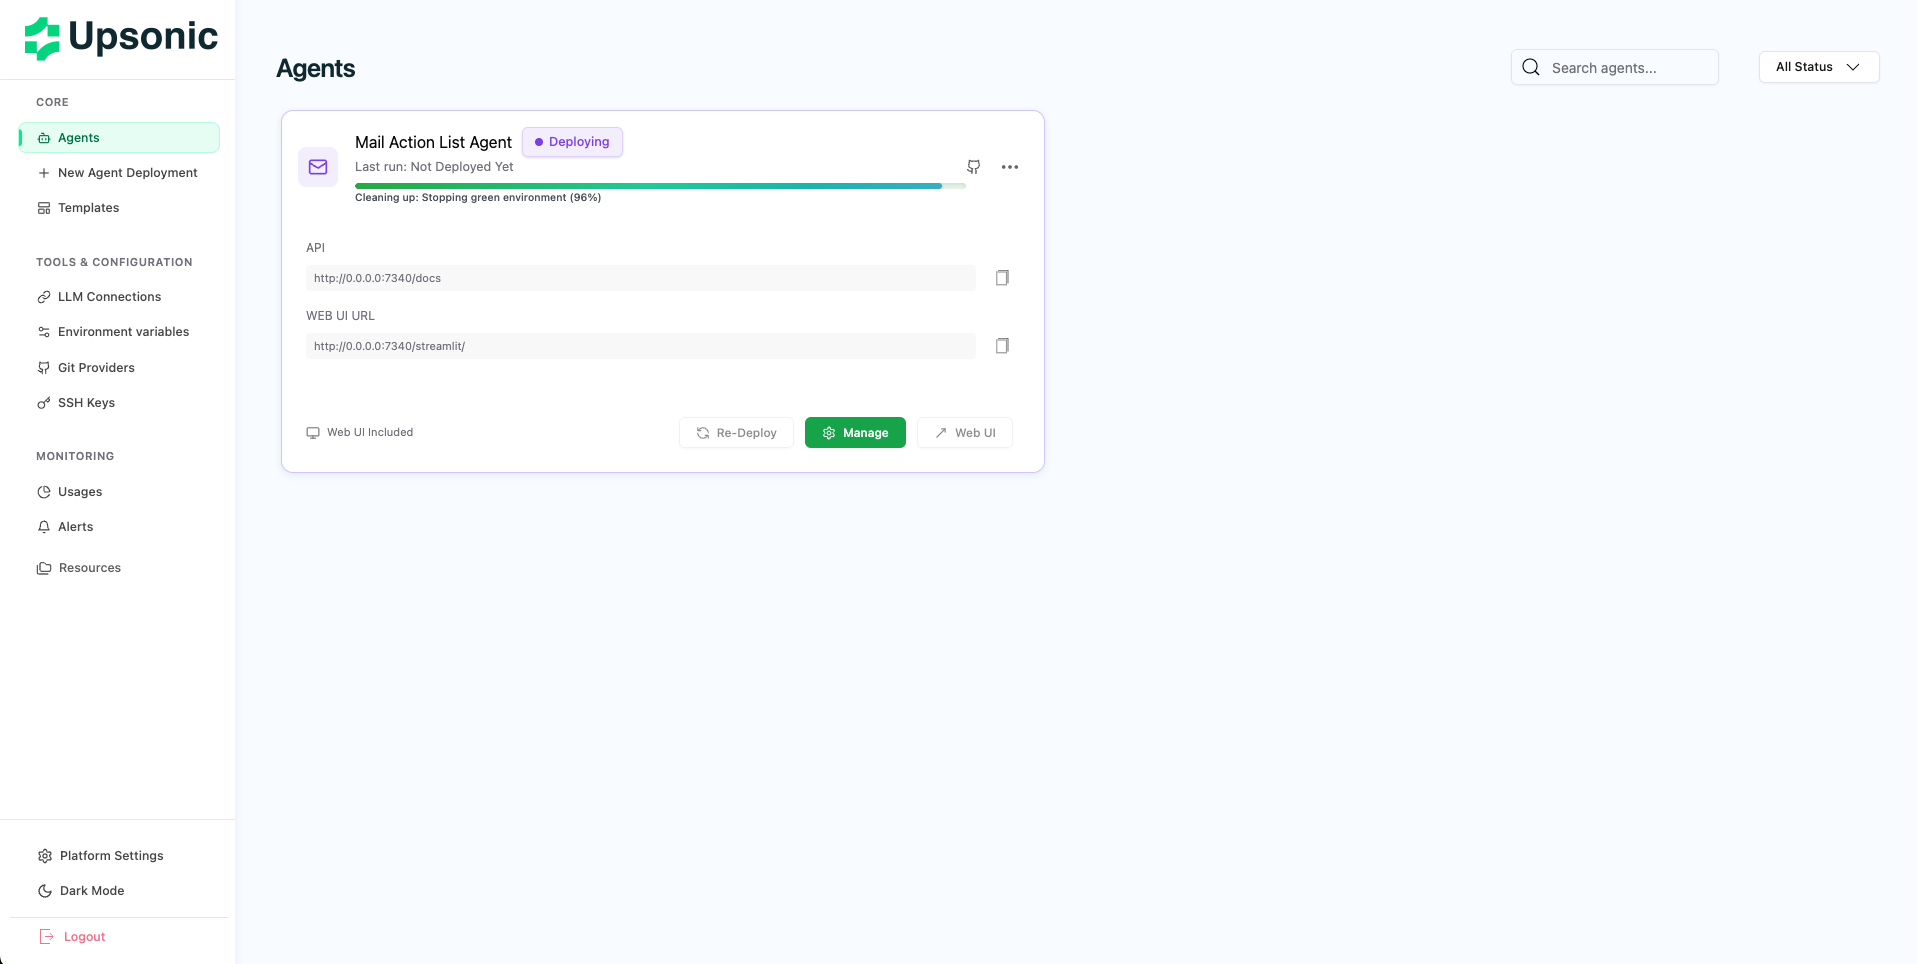
Deploy to Upsonic AgentOS
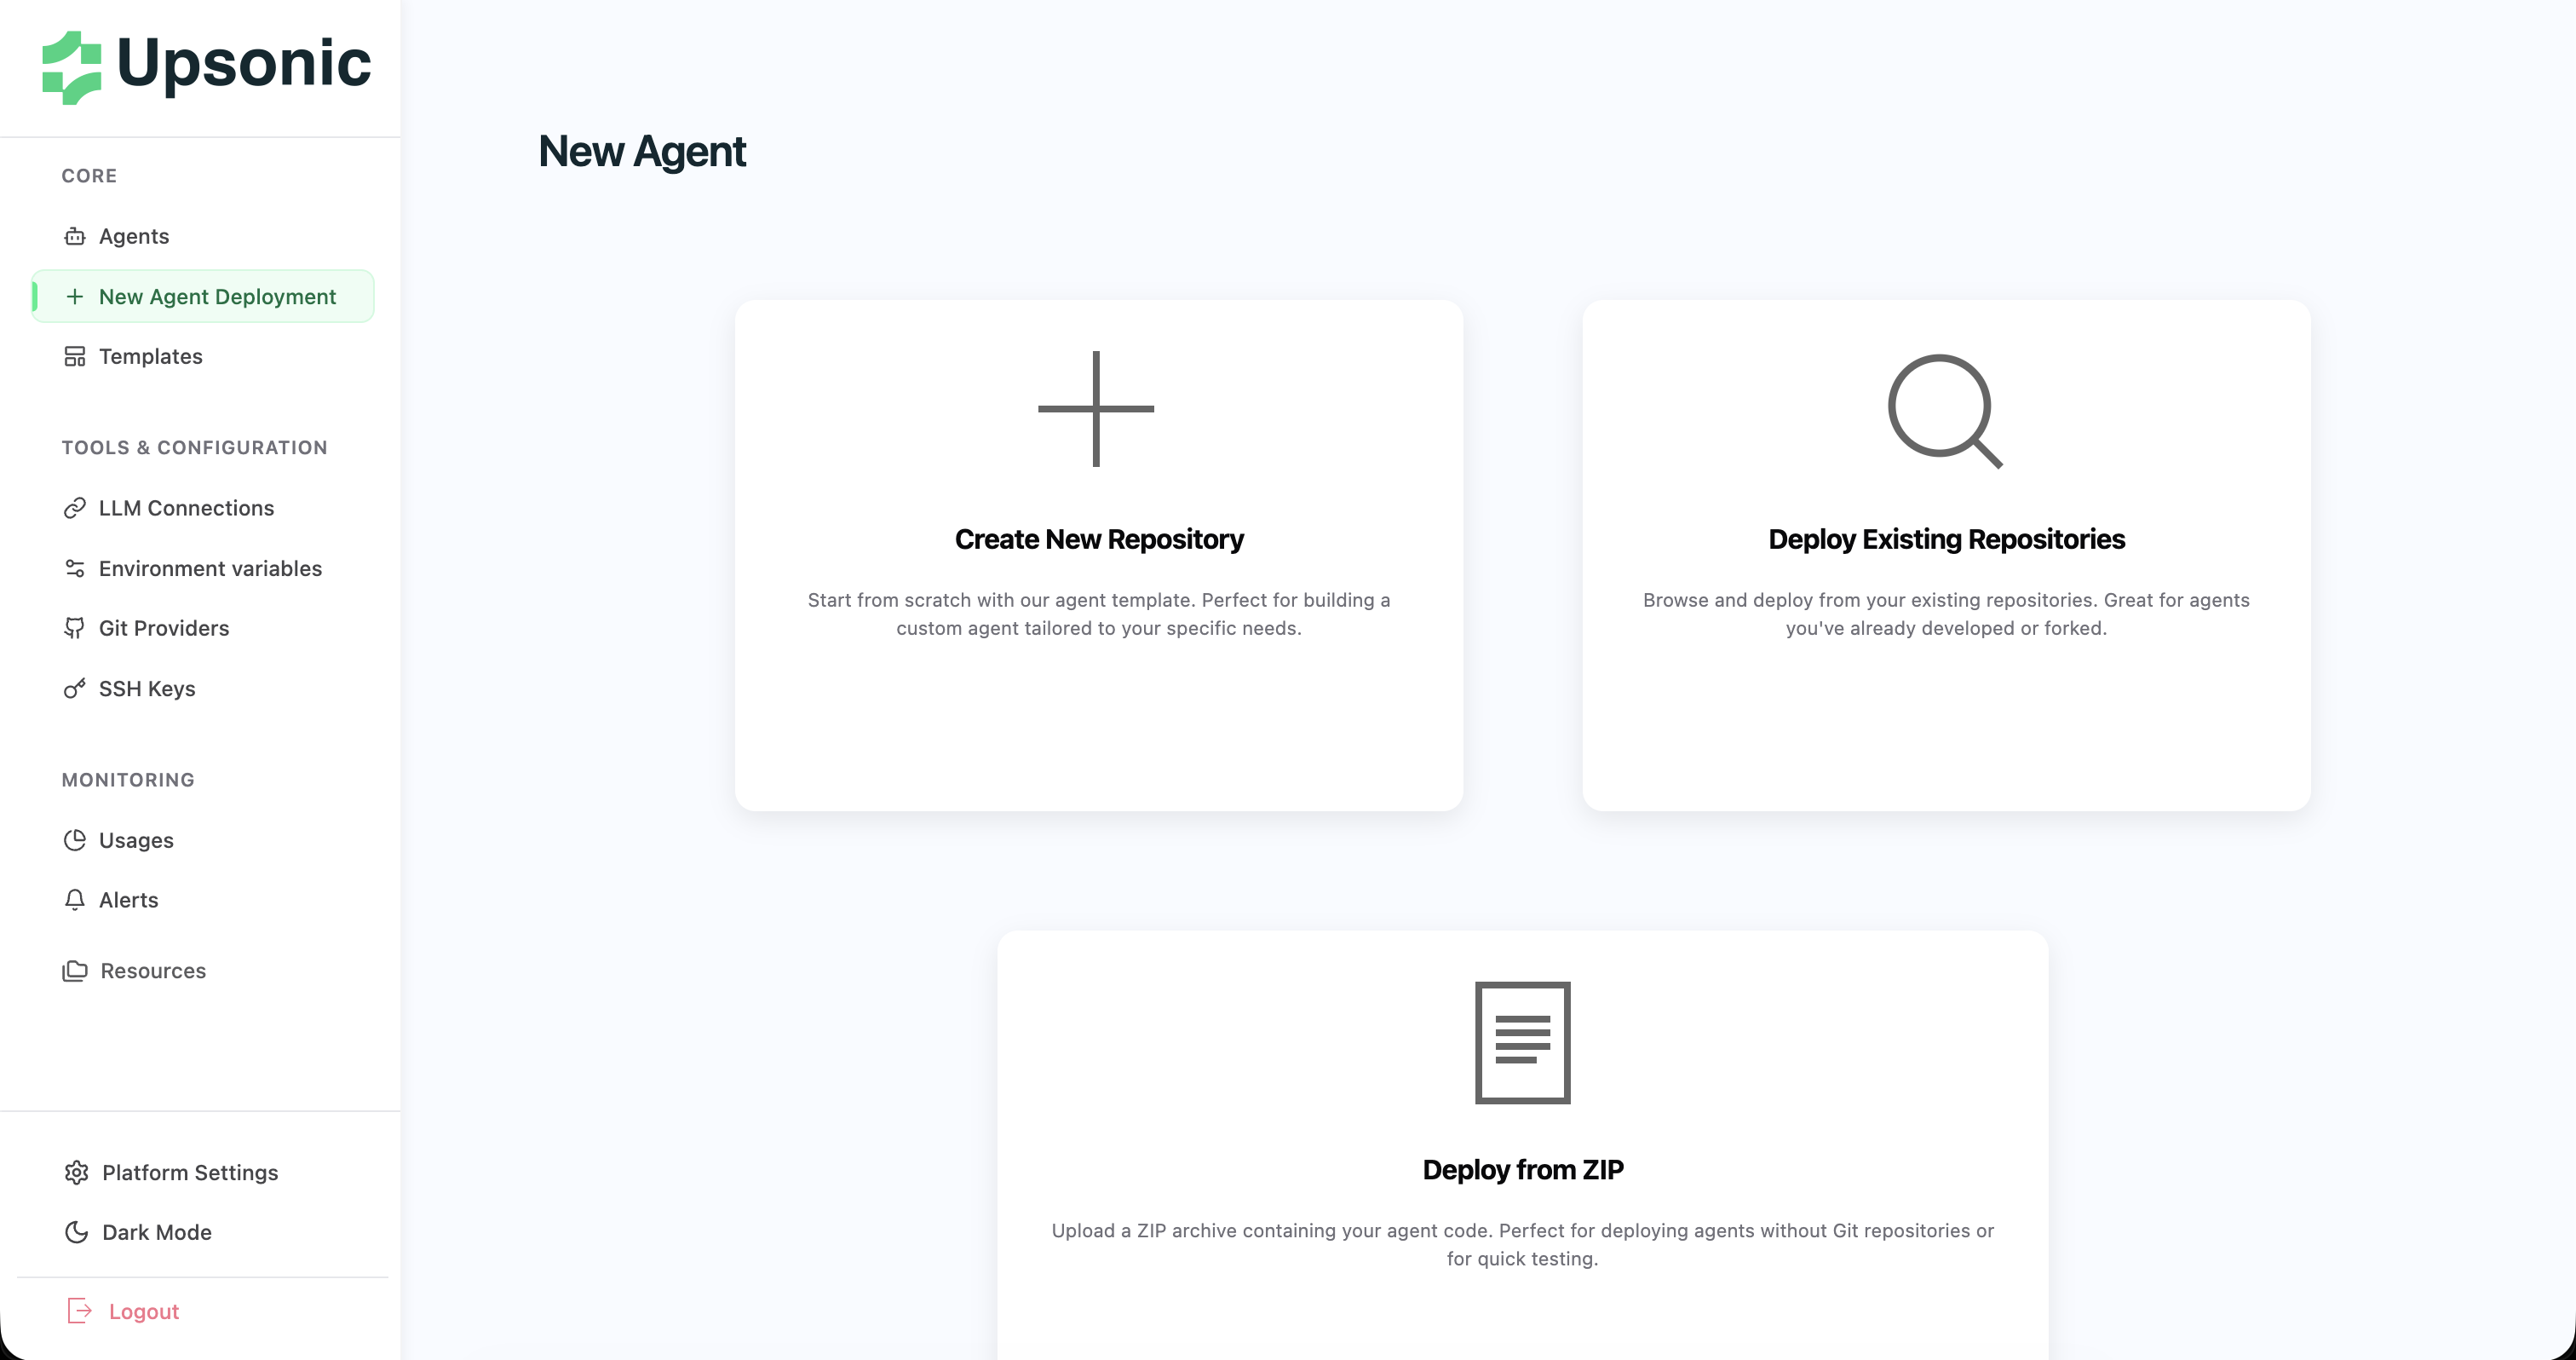
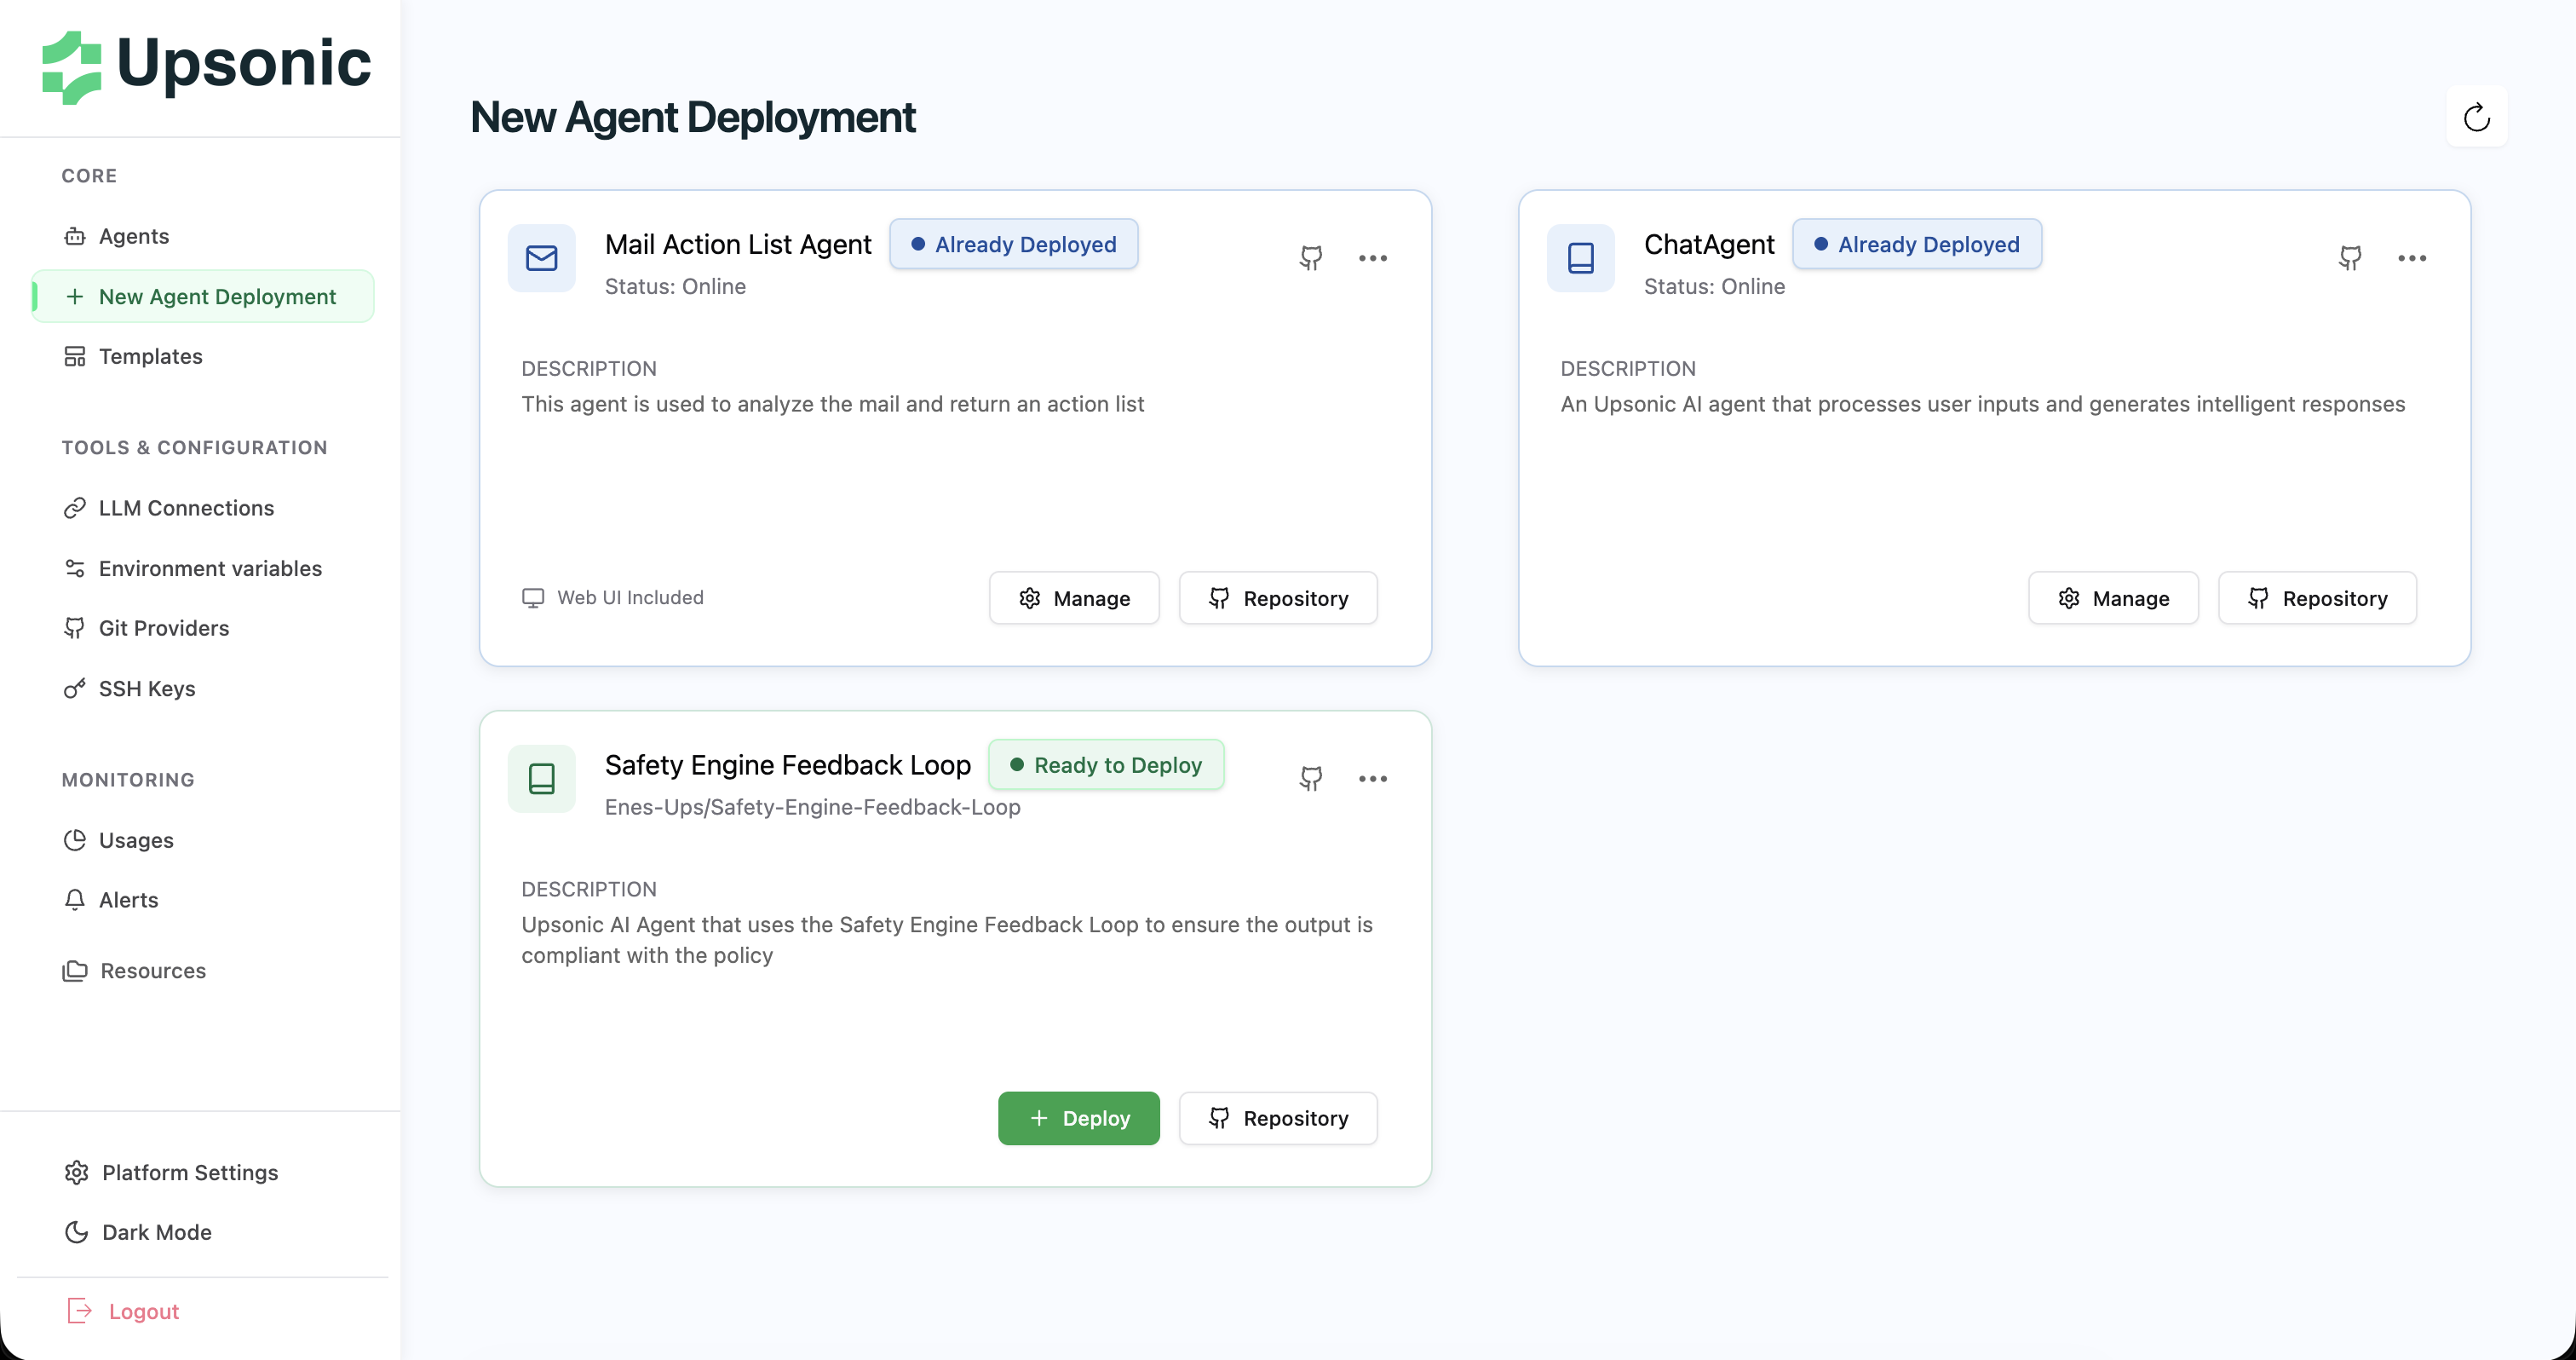
3) Select your agent repository
Find and click the agent repository you created (the repo you want to deploy).
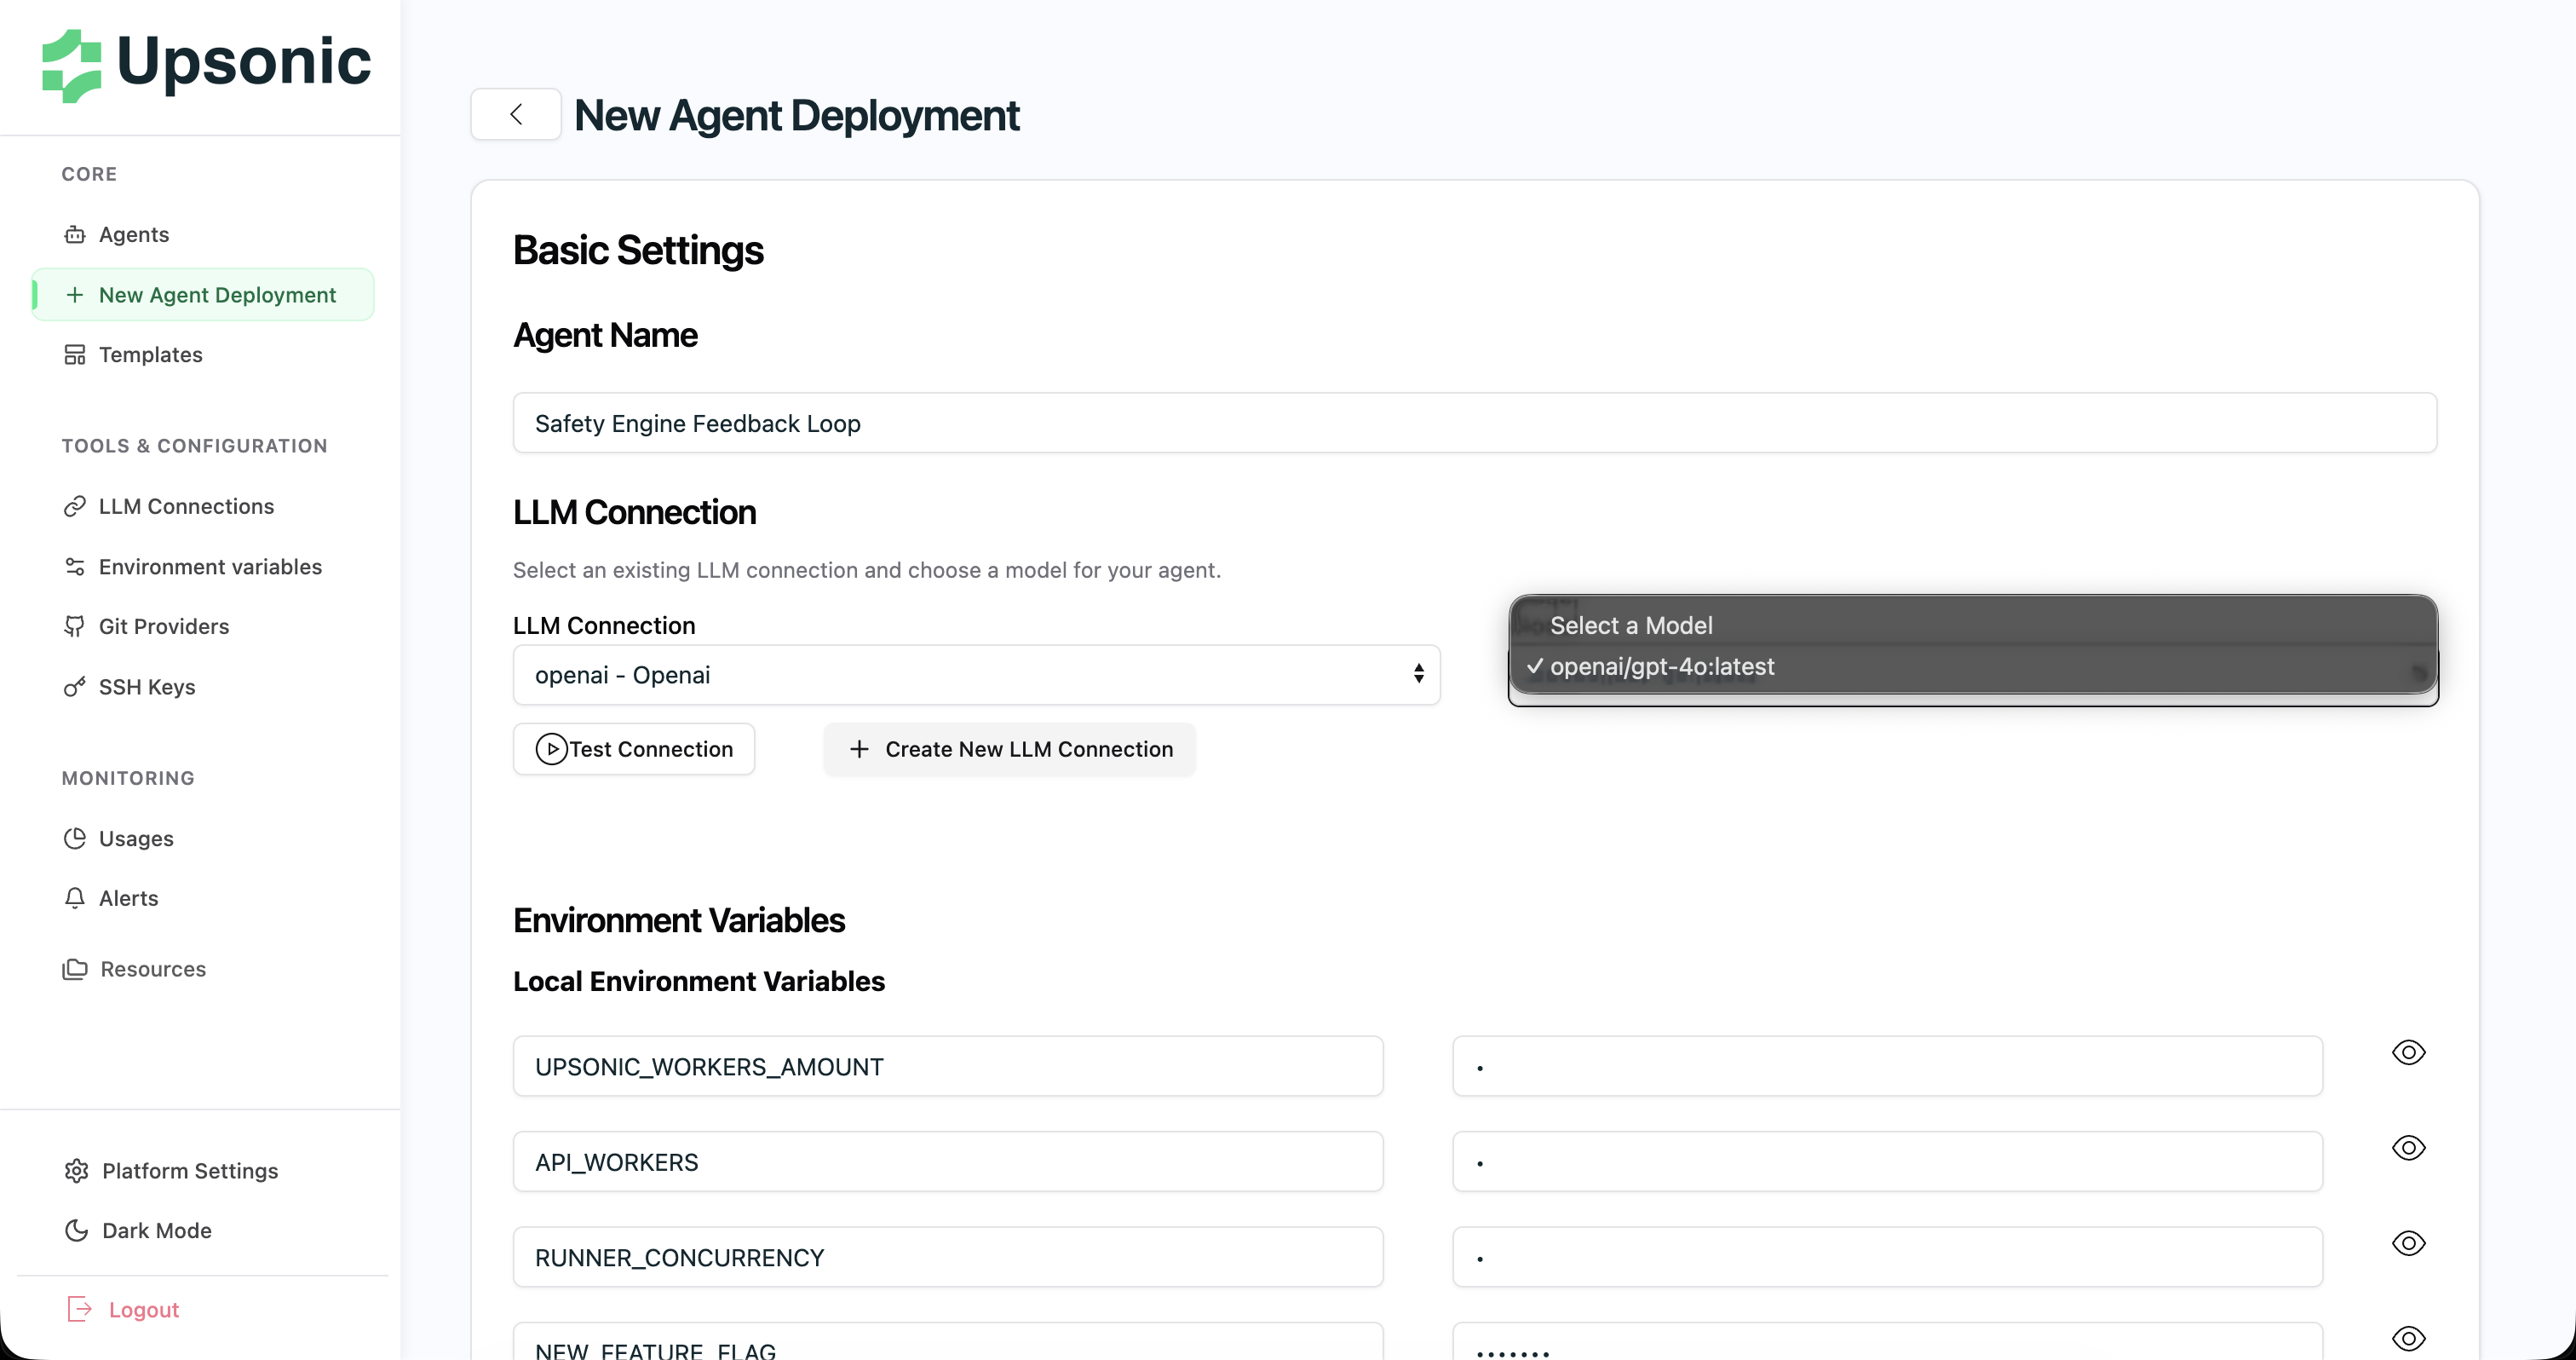
4) Configure LLM Connection
Set up your LLM Connection (provider + credentials) for this deployment.